What is vegan yogurt starter made of?
Many people attempt to substitute cow’s milk with plant-based beverages every year for a number of reasons related to health, ethics, and the environment.
The market is expanding rapidly; in fact, certain predictions (Bloomberg Surveillance 2015) based on market analysis suggest that turnover may surpass 26 billion dollars in 2023.
One of the culinary products made from the most popular vegetable milk in the world is the so-called soy yogurt. Yes, it’s wholesome, moral, and delicious, but how much does it go for? Soy yogurt is actually rather expensive, especially if it’s organic; single servings may cost upwards of 7 euros per kilo. This makes it a decision that’s undoubtedly sustainable for the environment and animals but not always so sustainable for everyone’s wallets.
Homemade soy yogurt is quickly revolutionary in this regard, costing only 7 euros as opposed to 2 euros (if you purchase organic soy beverage) or even only approximately 1 euro if you produce your own soy milk from soybeans.
In addition to saving money, self-production is also better for the environment because it eliminates the need for plastic containers for packaging. However, even though we try to recycle these containers properly, the industry itself currently does not support this option due to the higher costs.
If you want to produce your own vegan yogurt and you have questions in this field, what ingredients does vegan yogurt starter have? If I don’t have a starter, how can I make yogurt at home? Stay with us in the rest of this article.
How to Make Vegan Yogurt at Home Healthy & Dairy-Free
In this article you will read:
HOW TO CRAFT YOUR OWN NON-DAIRY YOGURT
- Heat 1-2 quarts of non-dairy milk to 110°F.
- Plant-based yogurt will generally not thicken on its own. To make a thicker yogurt, stir 2 teaspoons of calcium-activated pectin and calcium water into your milk and heat to 140 degrees. Cool to 110 degrees before adding the culture.
- Add 1 packet of yogurt starter and mix thoroughly.
- Pour the mixture into the culturing container.
- Cover and culture at 108-110°F for approximately 6-8 hours in a yogurt maker or similar appliance.
- After 8 hours, place a tight lid on the container and let it cool for 2 hours at room temperature.
- Refrigerate for at least 6 hours before eating.
What is vegan yogurt starter made of?
It’s crucial to first comprehend what a “starter” is. Simply said, the starter culture is just bacteria. It is devoid of components like milk. However, a medium must be used to grow the bacteria, and that medium is frequently dairy. Since the bacteria or starter is totally eliminated from the medium before usage, this won’t be a concern for the majority of people who consume little or no dairy.
However, if you have a severe milk allergy, are worried about traces of dairy, or are fully vegan and want to make sure no dairy was used in the product’s production, seek a dairy-free or vegan label. Then, contact the manufacturer to ask about their manufacturing procedures.
Why even add the starter, one may ask? The probiotics, or beneficial bacteria, that give yogurt its distinctive tang are part of the starter culture. Even though lemon juice, which is tart and acidic, can be used to make a counterfeit yogurt, it won’t have a significant amount of beneficial bacteria.
To start a batch of homemade yogurt, you can use any one of these three items:
- Another Yogurt – One yogurt can actually serve as the beginning for another batch. Store-bought yogurt will also work if you’ve never made your own. The market is already flooded with dairy-free yogurt brands, including those made from coconut milk, almonds, oats, soy, and rice. Despite the fact that they can be pricey, you only need one to start your first batch. You may then easily save a small amount of yogurt from your initial batch and use it as a starter for the subsequent batch. Even if you use one of the other two starter options for your first batch, this approach still works nicely.
- Starter Culture – Yogurt starters are genuinely for sale. Dairy-free products like Ther-Biotic (from Klaire Labs) and Tradition Probiotics are promoted. I use the Ther-Biotic brand; you can read about their hypoallergenic policy here (it is said that they do not utilize dairy products in the production of their probiotics). Naturally, you should always confirm any changes to ingredients or manufacturing methods with the manufacturer.
- Probiotic capsules – Many probiotic brands are available as capsules. Simply crack open the capsules and add the contents to your yogurt to serve as a starting culture. Probiotics are again just bacteria that have been separated from their “host,” which may be a milk-based substance. However, if avoiding dairy is a top priority, look for products marked as “vegan” or “dairy-free” and carefully check the manufacturing procedures with the supplier.
Top 5 Yogurt Starter Cultures
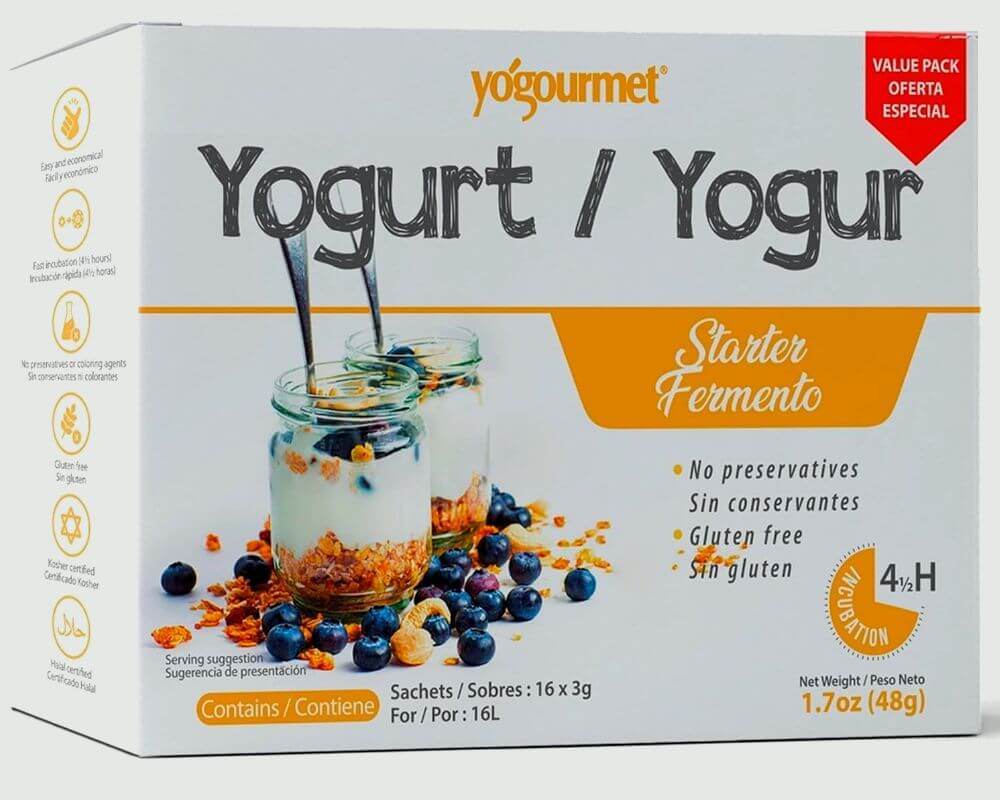
With Yogourmet 16 Pack Freeze Dried Yogurt Starter, making homemade yogurt is simple. This all-natural, gluten-free yogurt starter, which contains 100 billion live, active bacteria per 100 g serving, improves lactose digestion and boosts the immune system while promoting gut health. The presence of “live cultures” also keeps the beneficial microflora in your gut inhabited, which keeps you healthy. Additionally, this starter has a 25-year or longer shelf life when kept in a can.
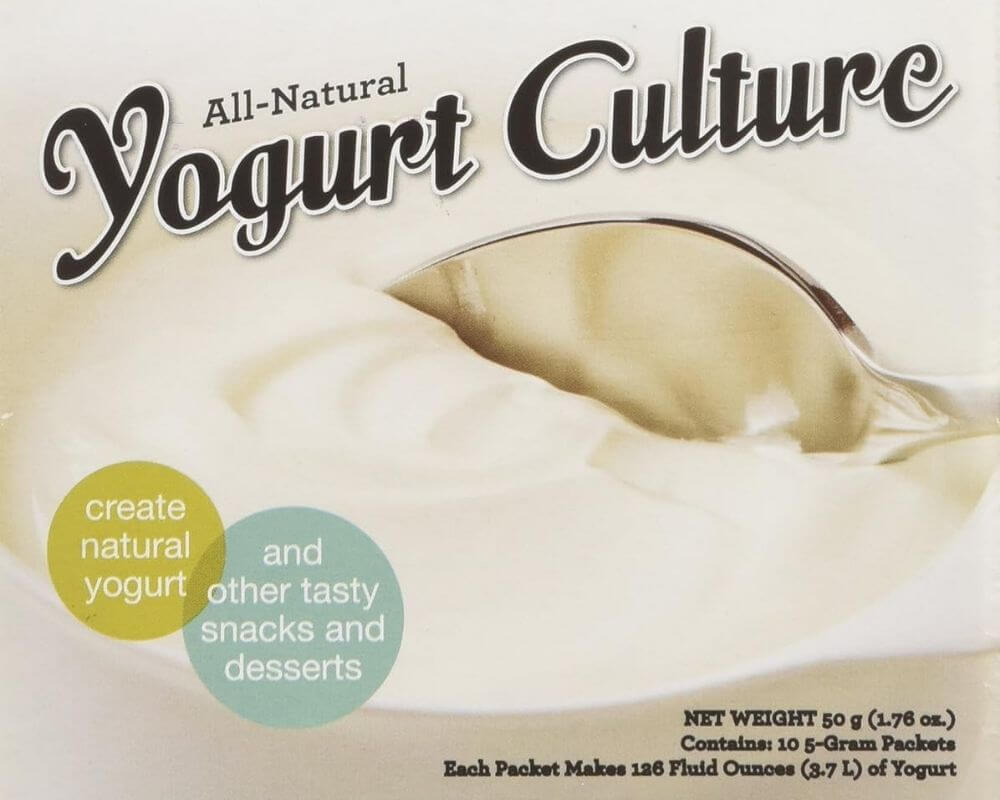
With 10 pouches and 3 grams of culture in each pouch, Euro Cuisine All Natural Yogurt Culture/Starter is the perfect starter kit for making delicious and nutritious yogurt at home. You may make a smooth, creamy, and delicious yogurt using this French product. It is also Kosher-certified, making it acceptable for those who must follow a strict diet.
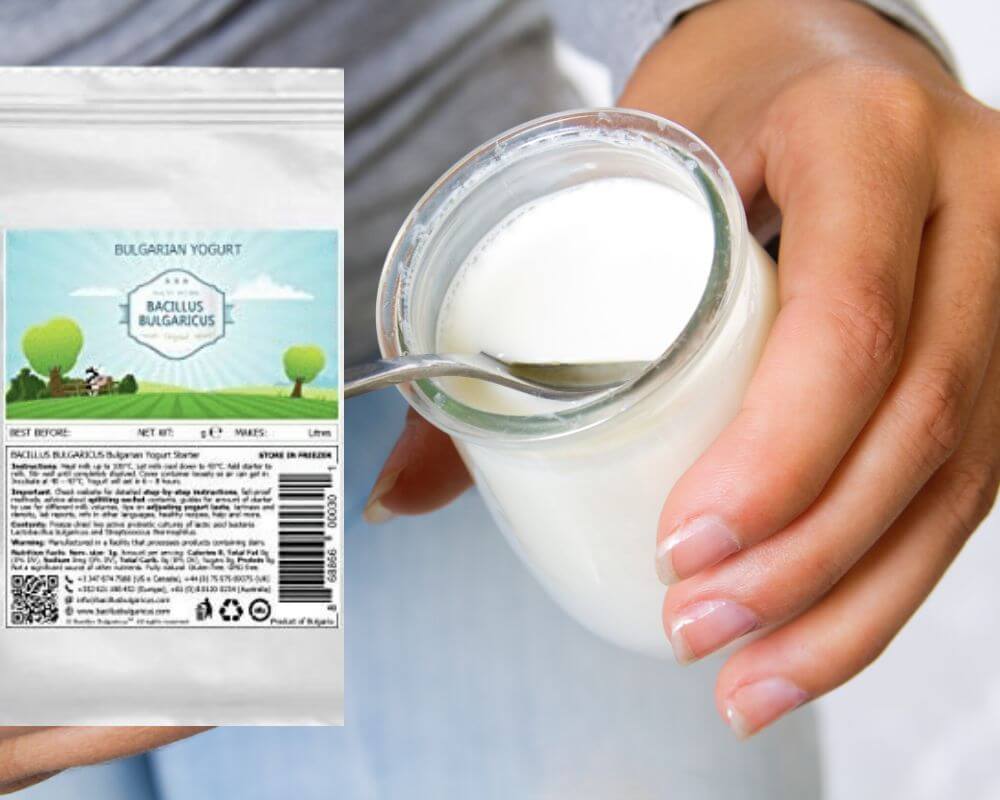
The yogurt starting culture Bacillus Bulgaricus is natural and organic, and it produces wonderful, thick, and creamy Bulgarian yogurt. It has simple to follow directions and works with all types of milk. The 100% potent heirloom starter is reusable and contains live, active cultures. It is free of gluten, preservatives, and artificial flavors or colors. The starter is made in Bulgaria and is certified Kosher and Halal.
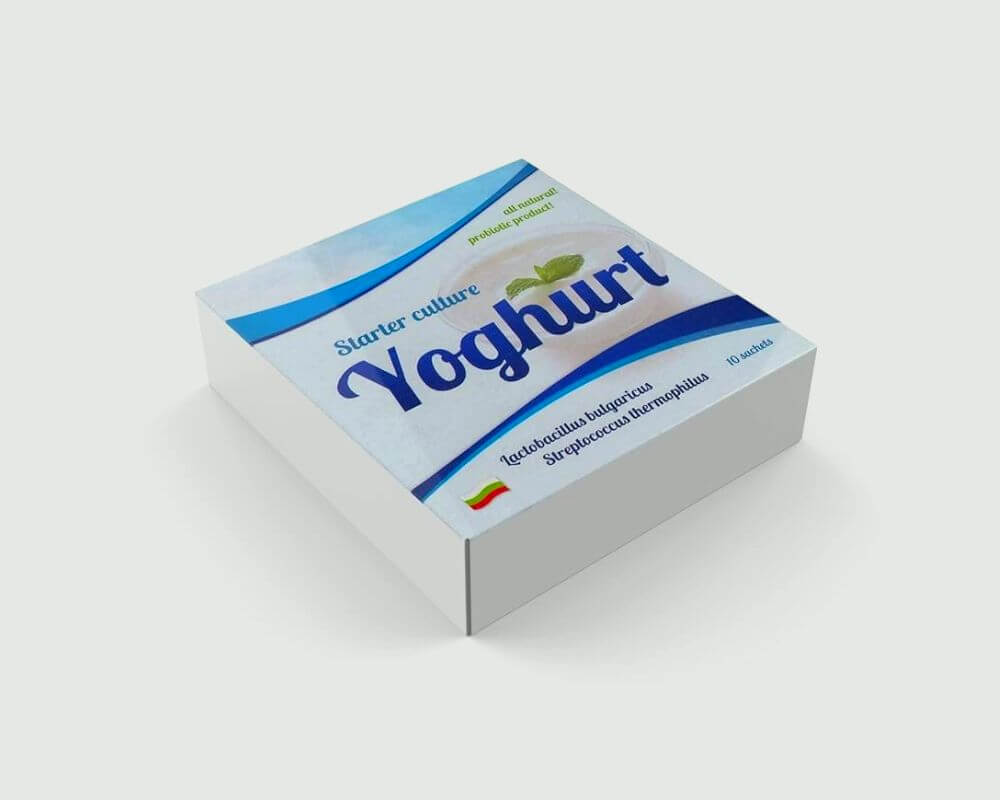
Making genuine Bulgarian yogurt at home is simple using Natural Probiotic Yogurt Starter Cultures. These freeze-dried culture sachets work well with whole milk and all types of yogurt makers. ”Lactobacillus delbrueckii subsp. Bulgaricus” and ”Streptococcus thermophilus” are among the pure blend of live active bacteria included in each sachet. One sachet makes one quart of somewhat tangy, re-cultivable plain yogurt that can be consumed right away. The cultures are created in a lab setting free of chemicals, maltodextrin, gluten, or genetically modified organisms. Natural Probiotic Yogurt Starter Cultures provide a practical and wholesome method to enjoy homemade yogurt and are suitable for vegetarians and people on the SCD diet.
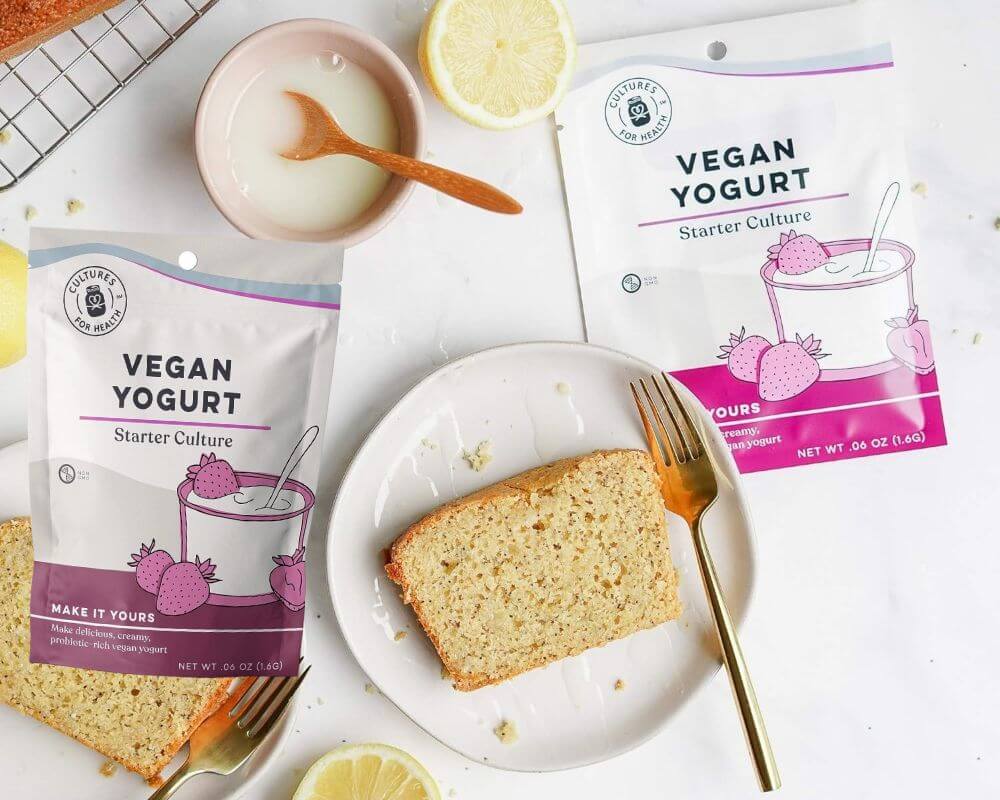
You can quickly manufacture your own plant-based yogurt at home using the Cultures for Health Vegan Yogurt Starter. For those who are just starting out or who prefer a low upkeep solution, this direct-set culture is ideal. You can save time and work by only having to cultivate it once. It’s not only less expensive to manufacture up to 4 gallons of non-dairy yogurt at home than to buy it, but it also allows you the freedom to choose the non-dairy milk of your choice. It’s possible to make delectable and creamy yogurt drinks whether you like soy milk, almond milk, or oat milk. Additionally, this vegan yogurt starter is pathogen tested to ensure safety and is loaded with probiotics to support digestive health, so you know you’re getting a high-quality product.
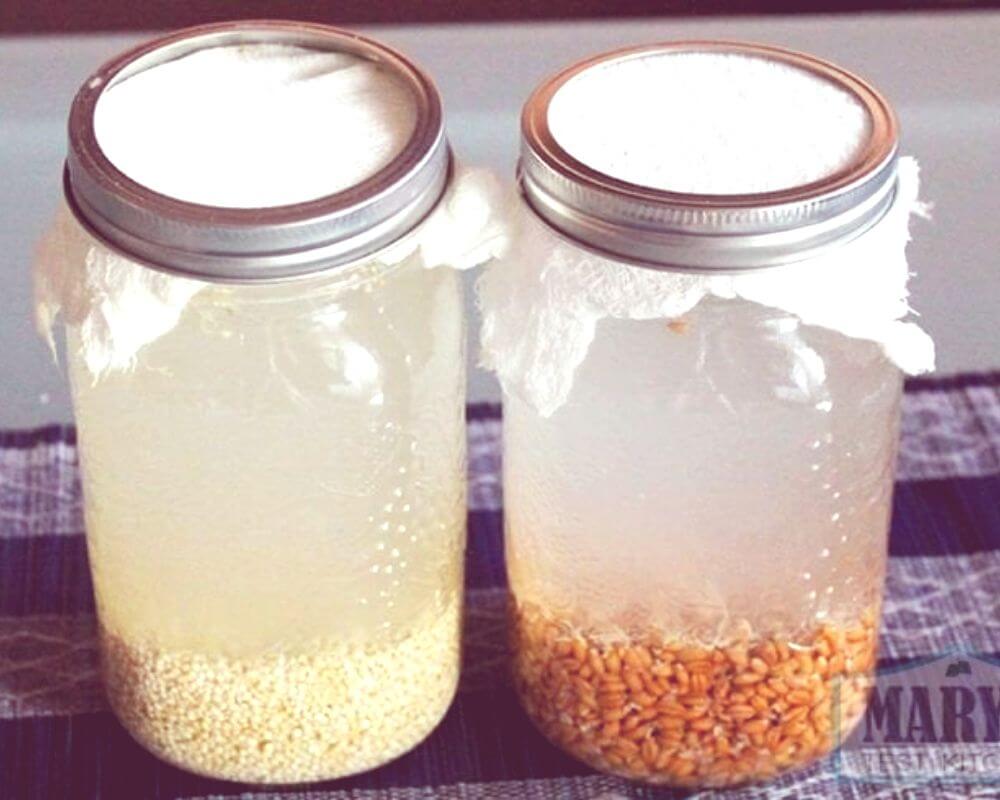
Don’t you have starter? Make your own Rejuvelac
A fermented beverage called Rejuvelac is prepared from sprouted wheat berries. Most of the nutrients from the berries are extracted during fermentation, creating a pleasant, fruity beverage. Although the leftover berries don’t have a lot of nutritional value, you can compost them to feed your plants.
Ingredients:
- A half-cup of wheat berries
- 4 cups filtered water
If you are allergic to wheat gluten, you can use quinoa instead of wheat, which has more protein and is healthier
Directions
- Use this simple technique to sprout the wheat berries in a quart jar or other sprouting vessel until only the tail appears, which takes around 2-3 days.
- Put the purified water and the sprouted wheat berries in a jar.
- Leave for 24 to 48 hours in a warm location. The liquid ought to start to bubble and become murky. The beverage ought to have a crisp, fresh flavor with a citrus undertone.
- The liquid should be poured off and put in the refrigerator for storage. It can last for up to a week.
- If wanted, reuse the berries for a second batch for no longer than 24 hours.
Which milk is better for vegan yogurt?
Soy milk is the easiest plant milk to use when creating yogurt. It creates yogurt with a hard texture and acidic flavor due to its high protein content.
You can use any other type of milk to make your own yogurt, such as cashew milk and coconut milk, which makes yogurt very tasty, and if you want, you can make your own milk at home.
The starter culture for dairy-free yogurt is compatible with all plant milks. However, without the addition of texturizing additives, only milks high in protein will result in yogurt with a hard texture.
Yogurt can potentially be made with any milk substitute, but the outcomes will differ. Some will thicken less than others. Some recipes make up the difference by adding thickeners like agar flakes, gelatin (which is not suitable for vegans or vegetarians), or starches.
Additionally, “milks” with more fat, such as coconut milk, will result in a creamier final product. To be clear, store-bought and homemade yogurt occasionally taste slightly different, but making your own yogurt from scratch gives you complete control over the flavor.
Finally, try again without a doubt if the previous time wasn’t successful. Very few people make their first batch of yogurt completely successfully. To get it properly, you need to practice a little, but once you do, the financial and culinary benefits are enormous.
Making your own alternative milks
Here i describe the method of making cashew milk, but don’t forget that the method of making other milks is almost the same.
Creamy, delicious homemade cashew milk is great for culturing or drinking.
Ingredients:
- Uncooked, salted cashews in a cup
- For soaking the cashews, use 2 to 3 cups of water.
- For blending, use 4 cups of water
Directions
- 3 hours of soaking the cashews in 2 to 3 cups of water.
- Remove and discard the water.
- Blend 4 cups of water and nuts until nearly smooth.
- Utilizing a nut milk bag or butter muslin, strain the combined concoction. It is best to use a fabric with a tight weave because by tightly twisting the top, you may keep extracting more milk.
- Refrigerate. The milk will remain fresh in the fridge for 3–4 days.
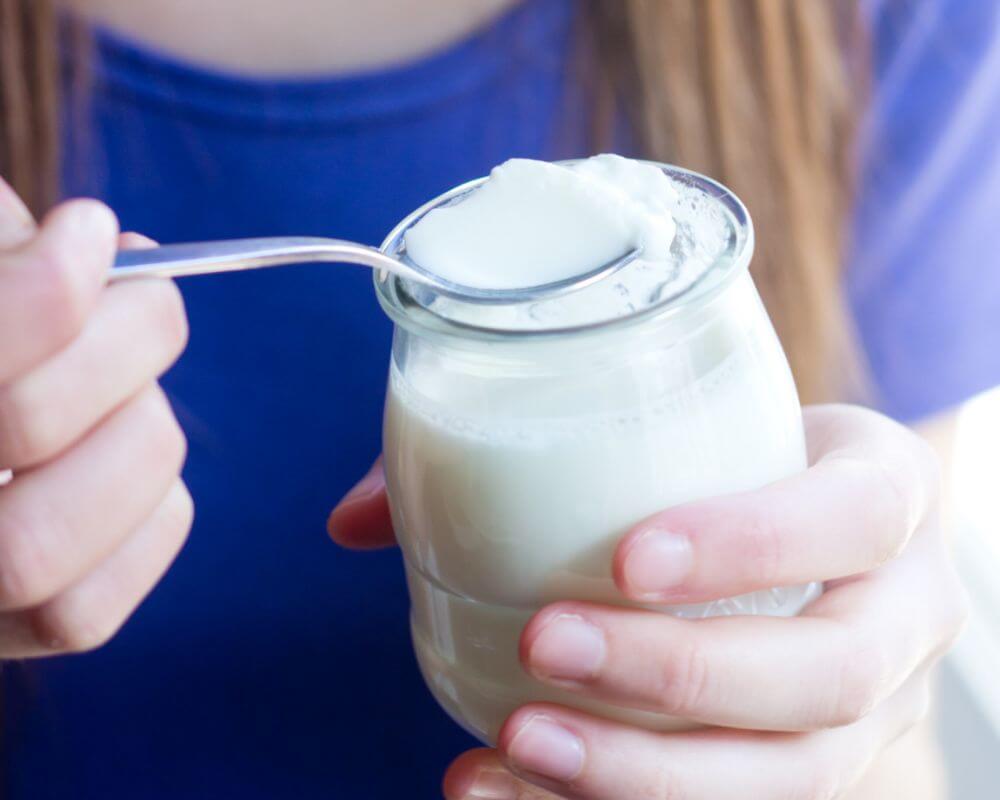
How to make a probiotic starter at home
A excellent, healthy option to include dairy in your diet is to make your own yogurt. You need a yogurt starter before you can create homemade yogurt.
Although yeast cultures may be purchased, why bother when generating your own starter is so simple?
Here is a simple recipe that you may use to prepare your upcoming batch of homemade yogurt.
- Bring the milk to 120°. Fill a clean container with milk.
- Split a large cardamom pod in half, then dunk the two halves completely in milk. Use 20 cardamom seeds in their place if, as I did, you are unable to locate pods.
- Submerge the seeds or pods in milk using a spoon or whisk until fully covered. Stirring the mixture could prevent it from curdling.
- Use a towel or cheesecloth to cover. Keep on the counter in a warm location as long as your house is kept at a temperature of about 70 degrees. Wait 10 to 14 hours for it to curdle (I usually just wait overnight).
- Verify that the yogurt beginning has appropriately curdled. The aroma should be sweet rather than harsh or strong. It should also have substantial curdles.
- After the starter has properly curdled, pour the mixture into a basin and strain off any seeds or pods.
- Transfer the yogurt beginning to a spotless container that has a screw-tight lid. Keep chilled for up to three weeks.
Simple solutions for thickening vegan yogurt
Commercially available, plant-based yogurt has no thickeners that are suitable for the SCD or GAPS diets. Avoiding added sugar and preservatives in the majority of products is also very difficult. Making your own is the only solution that is actually secure and healthy.
I want to be honest with you, plant-based milks react fundamentally differently when infected with yogurt starter cultures since they don’t have the same structure as animal milk.
Non-dairy milks will culture, but unlike yogurt made from dairy milk, they won’t naturally thicken and set. But have courage.
The non-dairy yogurt you make, even if it is thin or separated, is still a cultured food and will be beneficial to you.
Don’t let it go to waste; blend it into a smoothie to obtain your daily dose of probiotics that replenish the gut.
However, you will need to add a thickener if you absolutely must have yogurt that is spoonable, thick, and set. The good news is that you can choose from a variety of healthful options. But it’s best to moderate your expectations a bit. Expecting the texture to be exactly the same as one from a brand that uses stabilizers and preservatives may leave you disappointed.
We advise you to take a look at three techniques: gelatin, agar agar, and tapioca. Your dietary needs and personal preferences will determine the thickener you use.
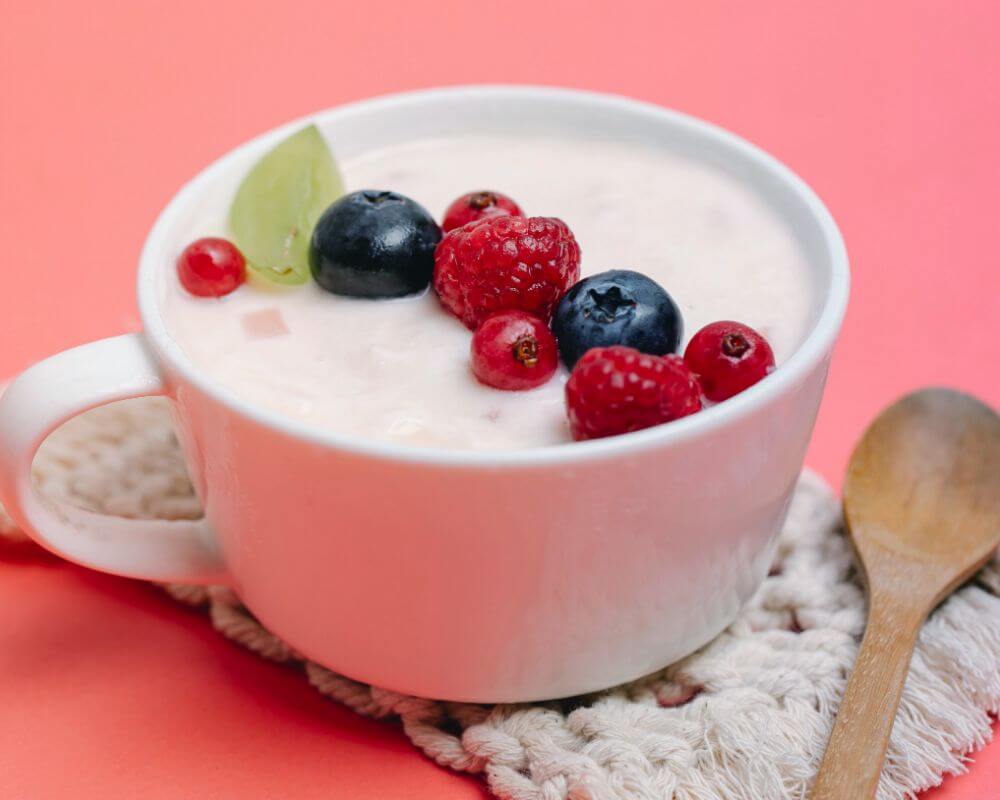
Other Recipe for homemade vegan yogurt
Ingredients:
- 1 liter of unsweetened soy drink (better if organic); put aside 2 tablespoons to add to the starter; 3 level tablespoons of homemade soy yoghurt; and 1 liter of store-bought (better if organic) soy drink.
- Additionally, a sterile container (or containers) for manufacturing the yoghurt, a well-washed steel saucepan, and an oven are required.
Directions
2 tablespoons of soy beverage should be placed in a clean bowl and left at room temperature.
To serve as a starter, add 3 tablespoons of soy yogurt to another bowl (always use clean spoons).
To prevent the soy beverage from sticking to the bottom of the pot, bring it to a boil (above 72 degrees) and maintain that temperature for about 15-20 minutes while stirring frequently, if not continuously. If you are unable to stir continuously, leave a spoon positioned diagonally in the pot to prevent the milk from spilling out.
Now that the soy beverage has cooled, you have two alternatives for bringing it to the ideal fermentation temperature, which is 43 to 45 degrees:
(1) Submerge the saucepan (or other container you’ve chosen) in a sink of ice water; (2) Permit the milk to cool naturally (1 litre takes around 15 minutes).
While you wait, combine the starter—the homemade soy yoghurt that will be used to initiate the coagulation—with a few spoonfuls of the soy beverage that you’ve set aside at room temperature. Allow the yoghurt to melt uniformly, forming a sort of cream.
I advise utilizing the oven for fermentation, on or off; it is always incredibly helpful for the trickiest step in the entire procedure.
The initial heat may be maintained because it is insulated, allowing you to ferment homemade soy yogurt without turning on the appliance for a further 7-8 hours by following the procedures below:
Only leaving the lamp on will help to maintain the room’s temperature; if lighting the lamp also activates the ventilation system, place a container of boiling water inside, and replace it every two hours; Alternatively, you can cover the soy milk and starting mixture with a kitchen towel, followed by a blanket, and leave it for 7-8 hours.
The oven must be turned on, but only at a temperature of about 43 to 45 degrees; in this instance, fermentation will take 4 to 5 hours.
My recommendation is to turn on the oven regardless of whether you intend to use it for its intended purpose or just as an insulated container. Set the temperature to 50 degrees (after that you can turn it off, if necessary); while it gets to the ideal temperature (just a few minutes), add the starter with the soy drink, gently stirring it to distribute it evenly.
Again, you have two choices here.
In this situation, I advise mixing the “milk” and the starter in a pot (or other container), and transferring the future yoghurt into the containers with a ladle. Multiple containers (glass jars are preferred).
Transfer the container(s) into the oven without delay while attempting to maintain the greatest level of stability.
Once the milk has solidified (fermented), you can let the yoghurt to cool to room temperature (approximately an hour).
Finally, put it in the refrigerator without a lid and move it as gently as you can.
Your homemade soy yogurt will be great after at least 12 hours (the longer it sits, the harder it gets). The container should then be sealed with the lid.
And finally
I hope the article on the topic of What is vegan yogurt starter made of? how to make yogurt at home if i don’t have starter was useful for you and you can make delicious yogurts for yourself. If you are satisfied with this article, please give us five stars and leave a comment for us. Thank you
